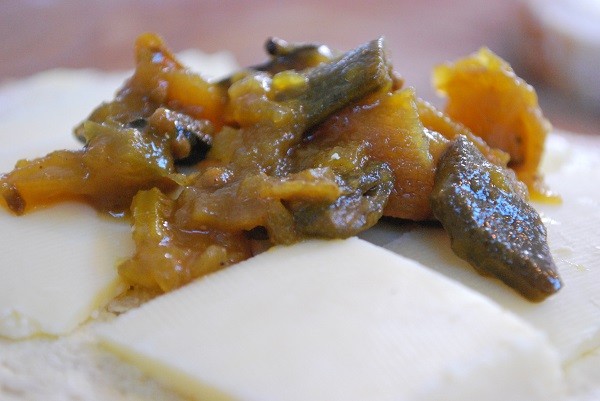
If you like a bit of chutney on a hunk of bread and cheese, there’s good news. Making chutney at home is really easy, and the results from this chutney recipe are much tastier than anything you’ll find in a shop.
A good reason to make your own chutney is that you can preserve a glut of summer vegetables and fruit that can then be enjoyed for months. There’s nothing quite like opening a jar of chutney on a cold winter afternoon, and being reminded of the things that grew in your garden. It’s like saying hello to old friends!

As enthusiastic about homemade chutney as I am, there is one issue… it will make your house smell of vinegar for hours. But it is worth it! Just open the window while cooking!
When making chutney, it’s important to use stainless steel or enamel pans and utensils only. This is because vinegar reacts with other metals, such as aluminium.
All jars must be thoroughly sterilised before filling, and the lids must have a plastic, rubbery coating, rather than metal. A quick way to sterilise jars and lids is to put them in a pan of boiling water for 20 minutes, then dry upside down in a warm oven until you are ready to use.
What are the Preserving Ingredients in Chutney
The thing that preserves the vegetables or fruit in chutney is the combination of vinegar, sugar and salt.
Vinegar – any vinegar will do, as long as the acidity is 5% or more, but remember that the darker the vinegar is in colour, the darker the chutney.
I use like to use a combination of vinegar for an interesting flavour, such as a 6% distilled malt, which is clear, and a good quality cider vinegar. I have made chutney using brown malt vinegar, and the results were also excellent.
Sugar – the proportion of sugar will vary with different recipes. But a liberal sprinkling is required to take the edge of the vinegar taste, but you can add to your own preference if you prefer a sweeter chutney. Use brown or white, darker sugars tend to produce a darker chutney.
Salt – again, the amount will vary depending on the quantity you are making. Add to your own taste.
How to Make Chutney
Here is one chutney recipe I created using the excess produce from my garden.
Ingredients:
- 10 x apples
- 2 x marrows
- Handful of runner beans
- 5 medium sized onions
- 2 finely sliced garlic cloves
- 500ml distilled malt vinegar
- 400ml of cider vinegar
- 300g sugar – the darker the sugar, the darker the chutney
- 2 teaspoons of salt
- Whole pickling spices such as mustard seeds, allspice, ginger, peppercorns or celery seeds. Measurements are not an exact science, and you can use a combination of spices.
- 1-2 teaspoons of turmeric (optional) gives a nice yellow colour to the chutney.

Method
Chop the fresh produce into roughly equal sizes, and add it to the pan with the vinegar. Bring to the boil and then reduce the heat so it simmers.
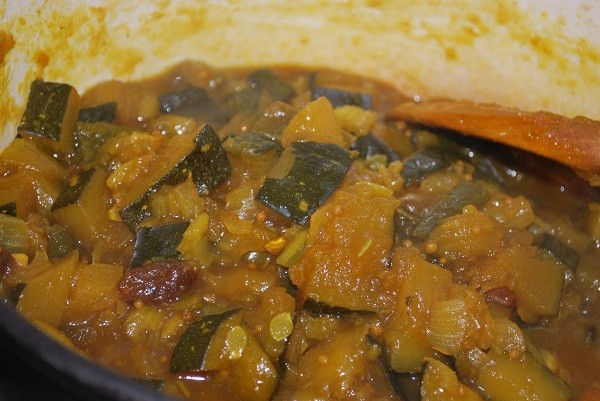
Once tender, add the rest of the ingredients. Simmer gently, remembering to stir regularly, until you have a thick, well reduced consistency. The time it takes will vary, depending on what produce you use, but expect it to simmer for at least an hour or two. Wait for the mixture to reduce and thicken.
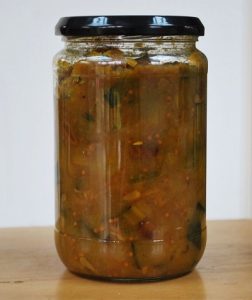
Test to see if it is ready by drawing a wooden spoon across the mixture. If it leaves a line without liquid rushing to fill the gap, it has cooked enough. That’s it! All you need to do is to pour it into sterilised jars and secure with a waxed lid.
Once made, chutney needs time to mature for a full flavour. As keen as you are to try your delicious chutney, don’t be tempted to eat it too early. Two months should be enough for a good flavour, but the longer you can resist the better!

Ever thought about a chutney recipe that uses wild ingredients? Wild fruits such as crab apples, or even wild greens like nettles, can make an unusual but tasty addition to chutney. I like making different batches using different produce, and then I have a store of flavours to last through the winter.
Chutney makes a great gift idea too… just put on a nice looking label and give to family and friends!
Do you like making chutney? What are your chutney making tips? Please share!
If you enjoyed this post, please read more about storing and preserving fruits and vegetables Smallholding: A Beginner’s Guide to Raising Livestock and Growing Garden Produce
