Raising chicks from eggs is one of the most exciting parts of keeping a backyard flock. There’s nothing quite like watching tiny embryos grow, hearing their first chirps, and helping them step into the world safely. Whether you’re a first-time chicken keeper or expanding your smallholding, knowing how to incubate eggs at home is essential for healthy, happy chicks.
In this guide, I’ll walk you through everything you need to know, from buying fertile eggs to candling, incubating, and hatching, so you can give your chicks the best start in life. Plus, for a more in-depth guide packed with tips, tricks, and smallholding advice, you can check out my book Smallholding: A Beginners Guide to Raising Livestock and Growing Garden Produce designed for beginners and seasoned poultry keepers alike.

Where to Buy Fertile Eggs
Before you start incubation, you will need fertile eggs. These can be purchased from specialist poultry centres or hatcheries, or from people who keep hens and a cockerel. Make sure you get your eggs from a reputable source, so you know they are good quality.
Egg Incubation Times
Poultry eggs from ducks, hens, turkeys, geese and quail have different incubation times.
| Poultry Type | Average Incubation Time | Notes |
|---|---|---|
| Chicken | 21 days | Standard hen eggs; check daily from day 7 for candling. |
| Duck | 28 days | Maintain slightly higher humidity than chicken eggs. |
| Goose | 28–30 days | Requires consistent warmth and humidity for best hatch rates. |
| Turkey | 28 days | Monitor humidity closely; turn eggs 3x daily until last 3 days. |
| Quail | 17–18 days | Small eggs hatch faster; check temperature carefully. |
Once you have eggs, you can check to see whether they are fertile by looking through them with a light. This is known as candling.
How to Candle an Egg
To candle an egg, you can carefully use a torch to shine light through the egg, or there are specially designed egg candlers available, which are inexpensive and useful.
When an egg is carefully held up to a light, the interior becomes visible. If the egg is fertile, you will be able to see blood vessels through the shell. The embryo sits in the large end of the egg and appears as a dark spot that increases in size as incubation takes place.
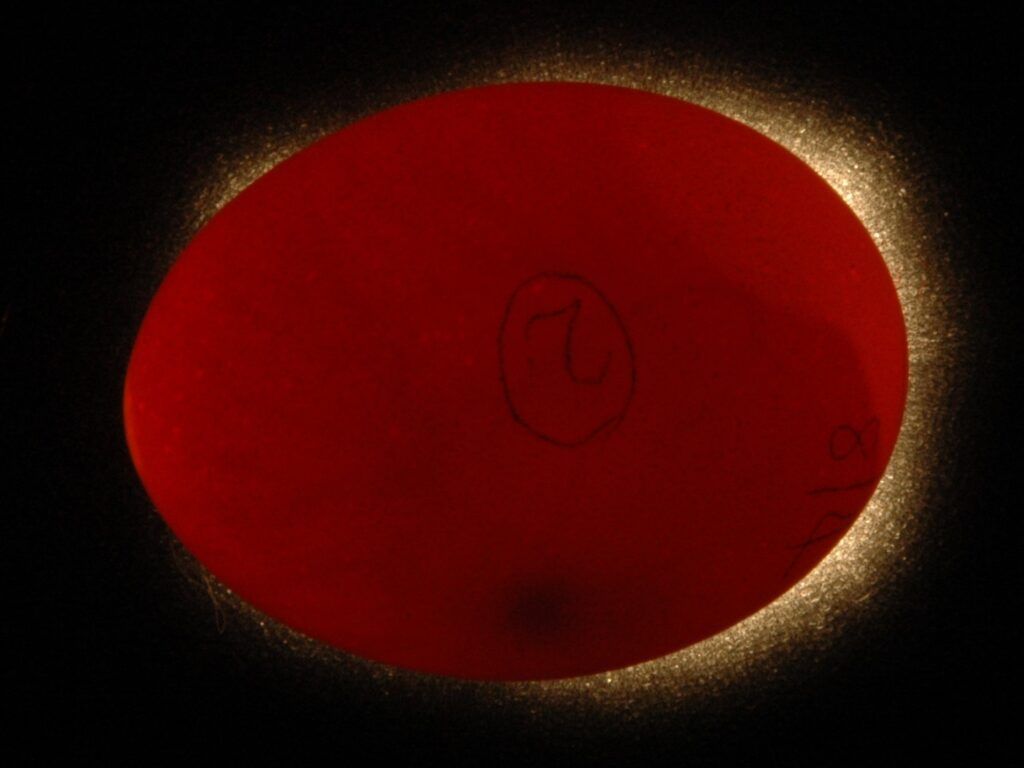
As the chick develops and gets larger, the only light that can pass through the egg will be through the air bubble at the pointed end.
It is important to not over handle fertilised eggs, or candle them too often, as the movement or heat from the light could affect the embryos.
The Best Ways to Incubate Eggs
If you want to raise chicks from eggs, there are two methods of doing so.
The natural method is by using a broody hen to sit on the eggs, or the artificial method that makes use of an incubator. Let’s take a closer look at both types of incubation.
Natural Incubation of Eggs
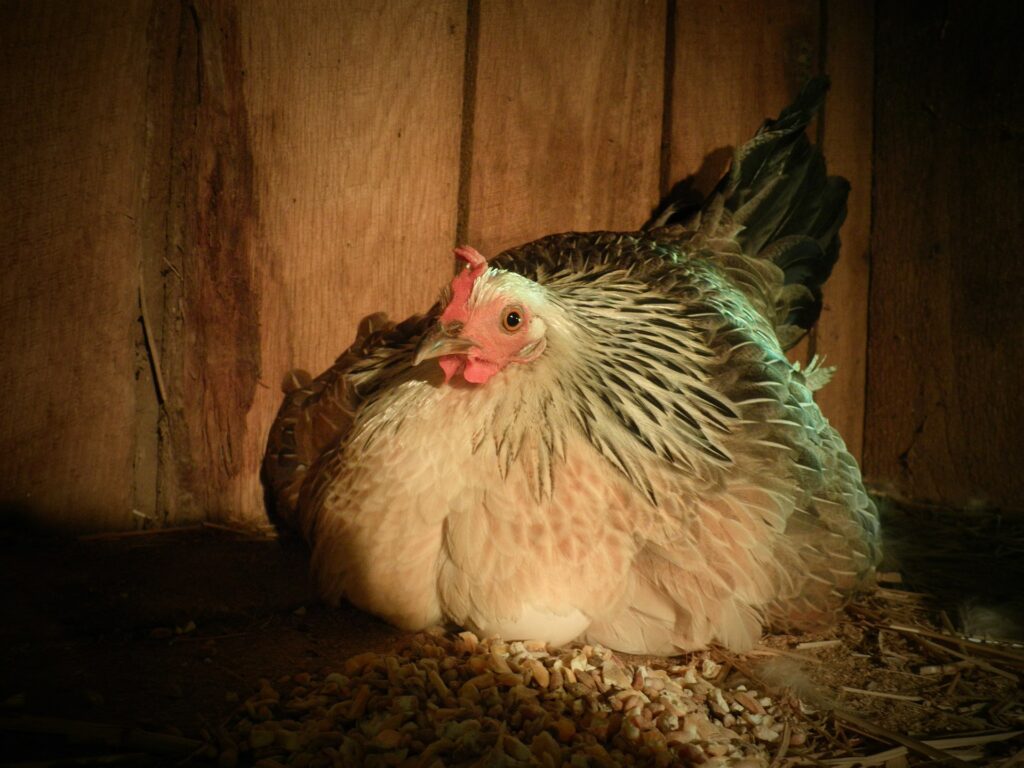
The natural incubation method can be used if you have a broody hen that is able to sit on the eggs for three weeks. Some breeds of chicken are broodier than others, such as Silkies, Orpingtons and Wyandottes.
There are ways to encourage a hen to go broody, such as by placing artificial eggs on the nest box and leaving them. This may encourage a hen to sit more. However, if you want the hen to sit on real eggs, it is best to wait for her to go broody naturally as she is more likely to sit for longer.
You can tell when a hen is broody as she will sit in the nest box for most of the day, and make aggressive noises, or even peck you if she is disturbed.
A broody hen will be protective of her eggs and will not like the attention from other hens. It is best to set up a private nesting box and small exercise area somewhere that the other birds do not have access to. Make sure the nest is close to ground level, so that if the eggs or newly hatched chicks are disturbed as the hen moves, they do not drop onto the floor.
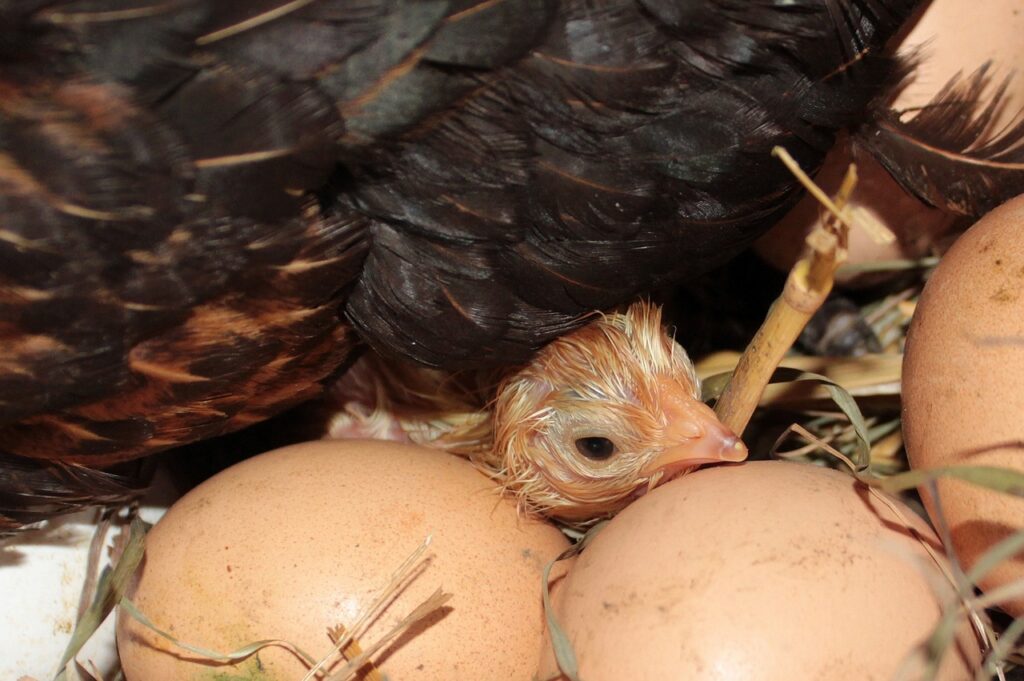
Benefits of Natural Incubation
One of the main benefits of natural hatching is that you can leave everything to the hen. She will turn the eggs herself as she incubates them and keep them at the right temperature.
A broody hen will only leave the eggs for a short amount of time to have a drink, some food and to have a stretch before returning to her nest. Place feed and water near to the nest box so that the hen is less likely to spend too much time off the nest.
Successful incubation the natural way depends on a variety of factors such as the instincts of the hen and how skilled she is. It is likely that some of the eggs will fail to hatch, or indeed the whole clutch.
It may be tempting to check on the eggs or candle them to see if the embryos are growing or not, but it is best not to disturb your broody hen once she is sitting on eggs. If she is disturbed, she may then abandon them due to stress. A hen needs privacy to feel safe and protected.
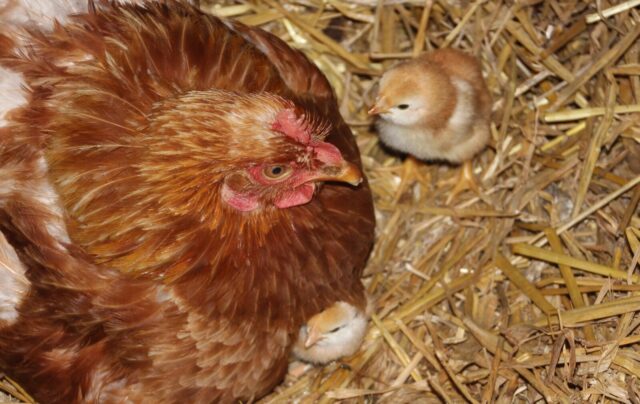
Once the chicks are hatched, the hen can be fed the same chick starter food. The extra protein will help her recover from the time spent sitting on the eggs.
Watching the hen mother her chicks really makes it a rewarding experience, plus naturally raised chicks tend to be stronger than artificially raised chicks. Not all hens make natural mothers however, so once the chicks are hatched keep a watch on her behaviour. Have a plan ready incase you have to separate them.
Be careful when you introduce the chicks to your existing flock. Ideally you should wait until they are several weeks old. The best time to do it is in the evening when the birds are naturally restful. Keep a close eye on the flock until the pecking order has been re-established. Allow your birds as much room as possible to prevent squabbling.
The Artificial Incubation Method
This method uses an incubator to keep the eggs at the optimal temperature while the embryos develop.
There are many varieties of incubators available on the market, yet they generally come in two types: still air and forced air. The forced air incubators use a fan to push the air, allowing it to circulate inside and keeping an even temperature. The still air incubators have a graded temperature, where it is warmer at the top of the incubator due to the hotter air rising, and cooler at the bottom.
A forced air incubator is the ideal choice if you are new to hatching eggs, as it means you do not have to worry about the position of the eggs and the temperature inside.
Incubators can cost anything from fifty pounds to a few hundred, depending on the size and type, and it also worth checking for suitable second hand ones.
Once you are ready to set up your incubator, clean it thoroughly using a diluted bleach solution or suitable disinfectant and let it dry. It is important to do this because the warm temperature inside the incubator can encourage bacteria to grow.
Place it in a draught free position and away from direct sunlight. Set the temperature and leave it for two days before adding your eggs, so you can be sure that the incubator is working correctly and can maintain the right temperature.
Once you are happy that the incubator is working as it should, put the eggs inside. The thermometer should be kept at egg level for a true temperature reading. The water reservoirs in the incubator must always be topped up to ensure the correct level of humidity is maintained.
The incubation temperatures for eggs across domestic birds are all approximately the same:
- Chicken eggs must be kept at 37.5 degrees centigrade, with a humidity of 45-50%.
- Duck and goose eggs require a slightly higher humidity of around 60-65%
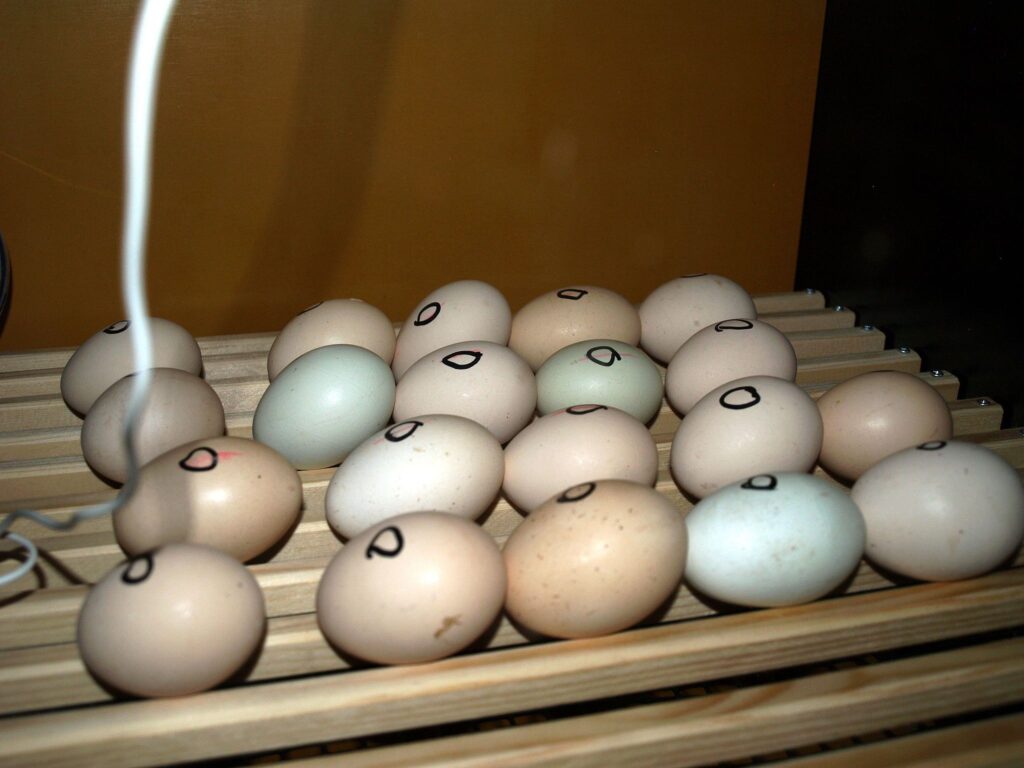
Turn the eggs over three times each day, accept for the last three days when they do not need turning. Putting a mark on the eggs helps you to keep track when you are turning them.
Hatching Tips:
- To prevent the possibility of disease spreading, get all your eggs from one source.
- Select the cleanest eggs for hatching to prevent bacterial from affecting your chicks.
- Wash your hands before handling the eggs.
- Do not clean or wipe the eggs as it removes the natural coating of the shell. This natural coating protects the growing embryos by stopping bacterial and diseases from getting through the pores of the egg.
- Avoid hatching misshapen eggs as they are more likely to fail.
- Eggs with cracked or thin shells should be avoided as they are unable to retain the moisture needed for the correct development of the chick. The egg will also be prone to bacteria and diseases getting through the cracks.
- Make sure your equipment is reliable, such as the thermometer and incubator.
- Mark one side of the egg with an ‘X’. That way you will remember which side you need to turn them next.
The air bubble present in the egg is designed to help protect the embryo from the stress of temperature change. The correct humidity is a very important factor in determining the size of the air bubble. If the air is too dry, the bubble will be large and could deprive the growing chick of essential fluids. If the air is too moist, then the bubble may be too small and not provide enough air for the chick. Modern incubators have a humidity control option, so you can ensure that the air bubbles are the correct size for healthy development of the chicks.
When the chicks are almost ready to hatch, they break through the membrane sack inside the egg to reach the air bubble inside.
Too small an air bubble will result in lots of fluid coming out from inside the membrane to the inside of the egg once the membrane is broken, causing the chick problems with breathing. Too large an air bubble may make it harder for the chick to get out of the membrane, sometimes so that it is unable to hatch.
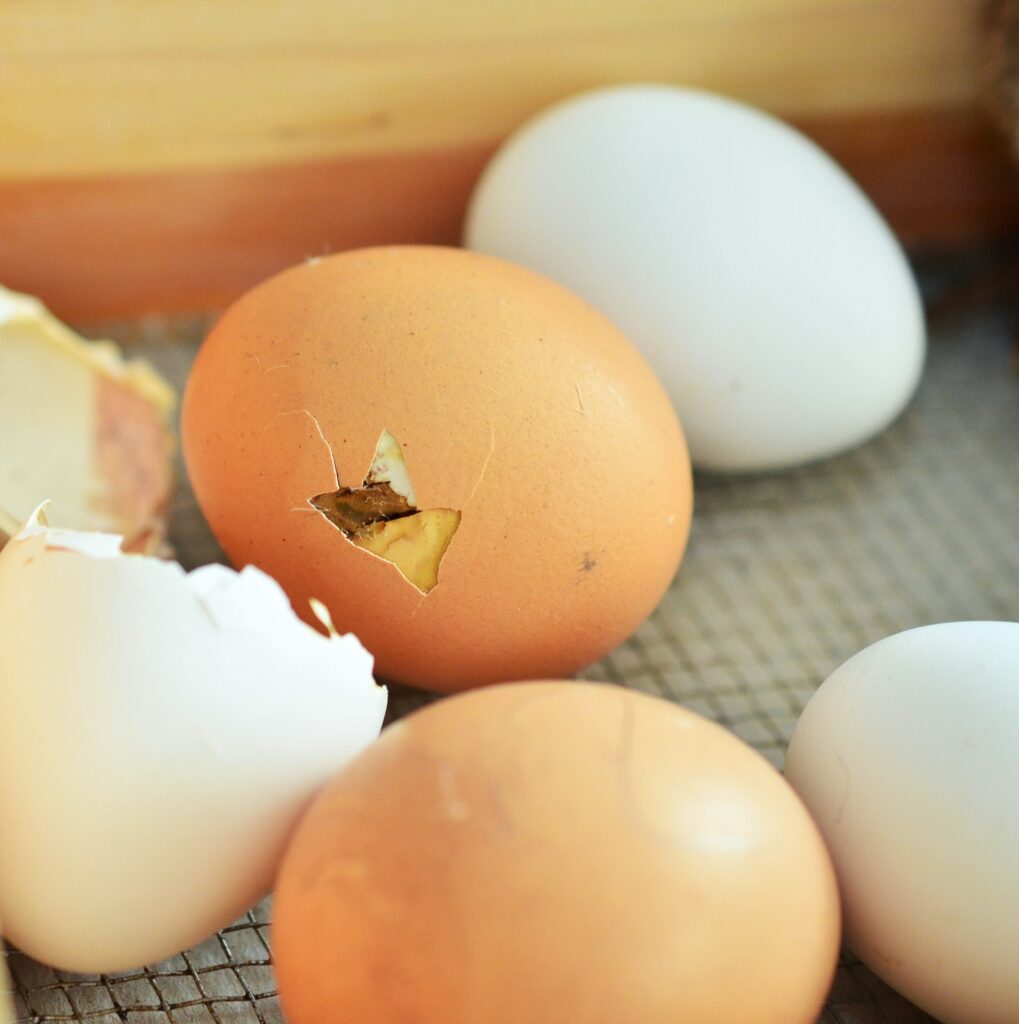
Hatching
The exciting moment when the eggs are ready to hatch makes raising your own chicks a rewarding experience. You may begin to hear chirping coming from inside, and the chick begins to ‘pip’ the shell, by pecking at it until it cracks. This allows the chick to breathe.
The rest of the hatching process may take a little longer and can often be as long as twelve hours before the chick emerges from the shell. It is important not to help the process along by removing the shell. If after twelve hours the chick has not yet hatched, it is possible to remove the top part of the shell to check on the chick inside.
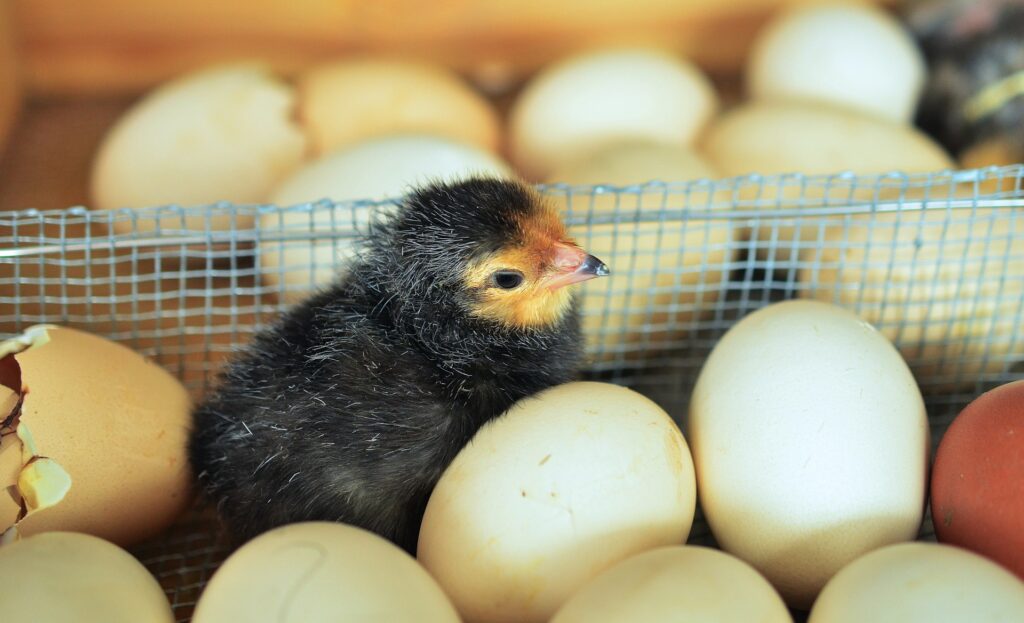
Do not remove chicks from the incubator until they are fully dry. They do not require food for 24 hours after hatching, so they have plenty of time to dry out fully.
Incubating eggs and raising chicks is a fun way to get new poultry for your back garden flock. It’s also really exciting!
Successfully hatching chicks at home takes patience, care, and the right approach, whether you’re using a broody hen or an incubator. No matter how you incubate your eggs, the joy of seeing those first chirps and fluffy little chicks makes all the effort worthwhile. Happy hatching!